Product dimensions
Bag height = 70cm
Bag width = 40cm
Bag thickness = 25cm
Zip length = 60cm
Why does the buoy appear less inflated in the water?
This is perfectly normal, it's a simple physical phenomenon... It doesn't mean that your buoy is taking on water.
In fact, the air blown in to inflate the bag will be warmer than the water in which you're going to submerge the bag.
As it cools, the air in the bag contracts and takes on less volume. No problem: if necessary, simply adjust the inflation by adding air through your mouth.
How do I put on the straps?
Start by unhooking the strap from the central part of the bag.
Thread the Velcro strap from the bottom upwards into the slot provided, then fold the strap over itself.
Slide the 2 plastic hooks from the top, from the inside outwards, into the loops provided (at the top of the back).
Slide the 2 plastic hooks from the bottom upwards into the loops provided (on the bottom sides of the bag).
How do I remove the straps?
The 4 hooks on the shoulder straps have a non-return claw.
To remove them, turn them over on themselves and press them against the bag, then slide them with a slight rotation to disengage the claw from the loop.
Unscrape the central strap and pull it downwards.
Place the shoulder straps in the waterproof bag.
Should I inflate my buoy to the maximum?
No, it's not necessary.
In fact, to perform its function as a board, it's even preferable for it to be only moderately inflated (too much inflation and it tends to roll).
How to inflate and deflate the buoy?
To inflate the buoy, simply close the watertight zip, then inflate the buoy by mouth using the non-return inflation valve.
To deflate the buoy, turn the valve cap upside down, and use it to deflate the bag by simply pressing the non-return inflation valve.
Why is my buoy unbalanced in the water?
For maximum stability, the buoy needs to be filled with at least 1.5 kg of ballast, clothing or equipment in the waterproof bag. In general, the weight of your dry gear inside the bag will be sufficient to keep it stable.
If this is not the case, and you wish to carry a single crossbow attached to the buoy, you will need to balance the buoy by placing a small ballast in the outer pocket on the opposite side to the crossbow (ballast not supplied).
How to position the pavilion?
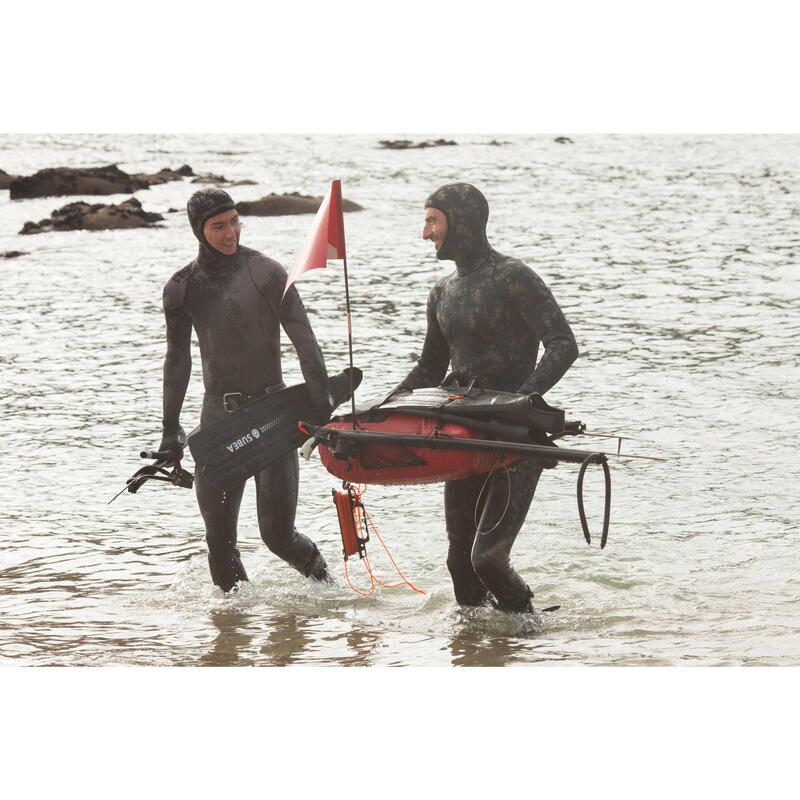
Unfold the flagpole and thread it through the sleeve provided on one side of the bag.
Place the plastic hook on the loop to secure the pole.
Why not leave your inflated bag out in the sun?
The sun will heat up the air in the bag, increasing its volume and potentially over-pressurizing the bag.
It's best to avoid this, to prevent the glued parts of the bag from being overstretched by the pressure.
Accessories :
1 external mesh pocket for fins.
2 adjustable gun attachment systems (remember to secure your arrowheads)
2 side mesh pockets for accessories.
2 D-rings: for attaching halyards or fish hooks.
Integrated whistle loop in case of danger.
2 side carrying handles.
Removable backpack carrying system that stows in the bag during launching (better hydrodynanism).


