European manufacturing 100% of our shoes Forclaz are made in Europe
These trekking boots are made in the European Union, in Romania, in a factory specialized in the production of trekking boots (Grisport)
This factory uses exclusively water-based glues, without chemical solvents.
The majority of materials are of European origin.
Manufacturer: https://grisport.it/com
pany/?lang=en
Tip Copy and paste the links you find on this page into your favorite browser.
The type of course for this shoe
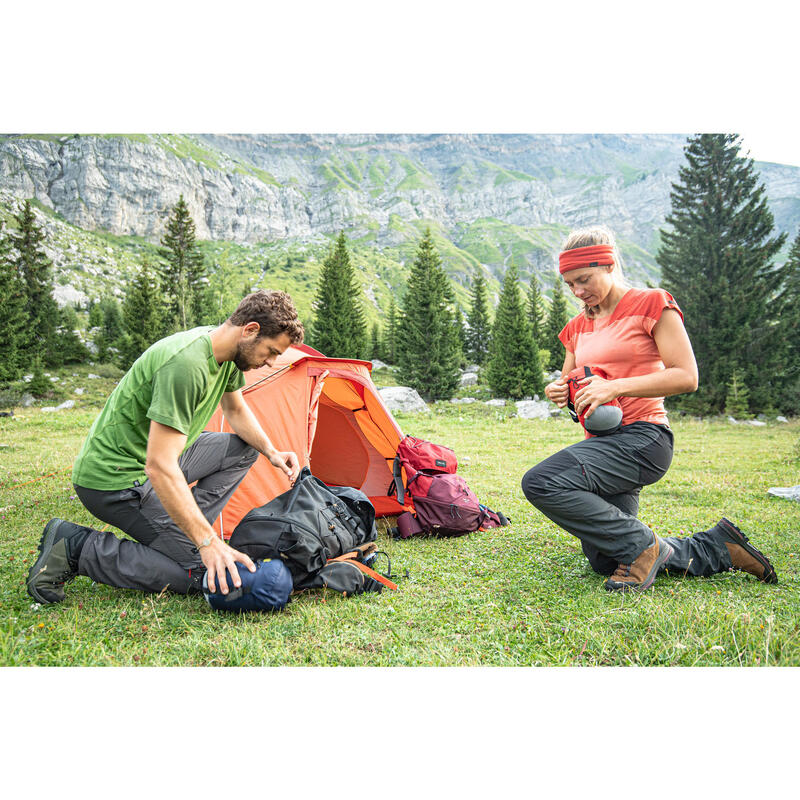
This shoe is designed for trekking routes generally at lower altitudes and/or on trails. Occasionally, it may be suitable for more technical passages, such as scree slopes, névés and uneven terrain.
Advantages of the locking hook
Effectively dissociate the lacing of the lower and upper parts
This allows you to adjust the lacing to the shape of your foot and give your ankle more or less freedom. To lock this first tightening of the lower part, tie a simple knot at instep level, or use your shoe's blocker.
All our trekking shoes offer this option.
Contact® technology for our insoles
Our soles are Contact® certified
To qualify, the shoe must pass laboratory tests to evaluate its grip coefficient on different surfaces (smooth, rough, dry, wet). To validate these tests, we have the quality of our soles evaluated in the field, in the mountains, by a panel of representative testers over a distance of more than 500 km
Its notching will also provide you with an adapted grip capacity on greasy and wet ground.
Advantages and disadvantages of this leather model
Advantages:
- supple leather
- resistant and waterproof, leather prevents water from penetrating the shoe by repelling and absorbing it
- leather is breathable (natural pores in the leather skin), but less so than synthetic shoes in hot weather. To overcome this problem, use nubuck leather (for greater breathability, but also greater sensitivity to rain)
Disadvantages:
- it needs to be nourished, moisturized and treated to maintain its waterproofing properties.
The level of waterproofness of this shoe
This shoe has been waterproofed to 10,000 repeatable flexes, i.e. 15 km of walking in water up to mid-stem. This now guarantees a very good level of waterproofing for our shoes.
--> Our evaluation indicates a level of 3/5, offering waterproofing for 6 hours of hiking in the rain.
Details of the tests carried out to evaluate the waterproofing of our shoes can be found a little further down.
Extend this shoe's water resistance
For leather, we recommend using a waterproof grease to nourish the leather, prevent it from drying out (cracking), waterproof it and protect it from stains
1/ Trekking shoe care brush: https://www.decathlon.fr/p/brosse-entretien-chaussures-de-trekking/_/R-p-307665?mc=8551990
2/ Re-waterproofing grease for leather shoes: https://www.decathlon.fr/p/graisse-re-impermeabilisante-pour-chaussures-en-cuir/_/R-p-9513?mc=8229704#zoom=opened
Increase the waterproofness of your footwear with a gaiter
A shoe's waterproofing is often compromised by water intrusion through the top of the shoe.
--> To keep feet dry longer, we recommend the use of a waterproof gaiter or mini-gaiter that will protect the top of the shoe from water intrusion, but also from stones and sand.
Model perfectly suited to this model trekking gaiter MT500 black
https://www.decathlon.fr/p/guetre-de-trekking-trek-500-noir/_/R-p-124466?mc=8347880&c=N
Care for your leather shoes in 6 easy steps
1/ Remove laces to avoid soiling them with grease
2/ Brush dry to remove dust and any particles stuck to the leather. This step is essential to prevent the dirt from sticking to the leather with a new layer of grease
3/ Grease the leather with a brush, so that the grease penetrates deep into all the seams and gaps.
4/ Wipe off excess grease with a soft cloth
5 /Gently rub to shine
6/ Replace the laces.
Waterproofing my leather shoes with a water-repellent reactivator
1/ Use a brush and/or sponge to clean the shoe and remove any residues of dirt or mud.
2/ Then leave to dry in the open air, away from a heat source.
3/ Finish by applying a water-repellent spray to keep the upper water-repellent and prolong the life of the shoe.
Link below to the applicator, also available online: https://www.decathlon.fr/p/applicateur-re-activateur-de-deperlance-pour-chaussures/_/R-p-307629?mc=8551
Choosing the right shoe size is a major challenge.
For hiking, don't hesitate to go one size larger than your usual shoe size, to ensure optimum comfort on the way down, and to prevent your toes from banging against the ground. Tip: keep your nails short and check that your lacing prevents your foot from slipping forward.
5 levels of waterproofing
In the waterproof test, we test 5 levels of waterproofness:
- 2,000 flexes (approx. 4 km, 30 min walk)
- 10,000 flexes (approx. 10 km, 3 hours walk)
- 30,000 flexes (approx. 15 km, 6 hours walk)
- 50,000 flexes (approx. 20 km, 8 hours walk)
- 100,000 flexes (approx. >20 km, 24 hours walk)
The waterproofing test carried out on this model
Our shoes are tested in the laboratory using 2 consecutive tests
Test 1: We test the effectiveness of the membrane alone when immersed in water under air pressure. We simply check for the absence of bubbles at the surface, as with a punctured inner tube
Test 2: Using a mechanical arm to simulate walking, the complete shoes are half immersed in water and flexed thousands of times to check that the inside of the shoe remains dry and therefore waterproof.
Try on your shoes step by step
To choose the right shoe:
1. Try on both shoes, standing, with the socks you use for hiking.
2. Tighten the laces correctly.
3. Check two important comfort points: the heel seat and the forefoot on descents.
4. Stand up to walk with your shoes on.
5. Try on several sizes and models.
6. Use your shoes gradually on the first few hikes to get them to fit your feet.
Main complementary laboratory tests
Laboratory tests are conducted to validate the following elements:
- hook and eyelet pull-out
- sole bonding
- toxicology
- UV resistance
- abrasion of sole and upper components
- accelerated ageing
