Directions for use :
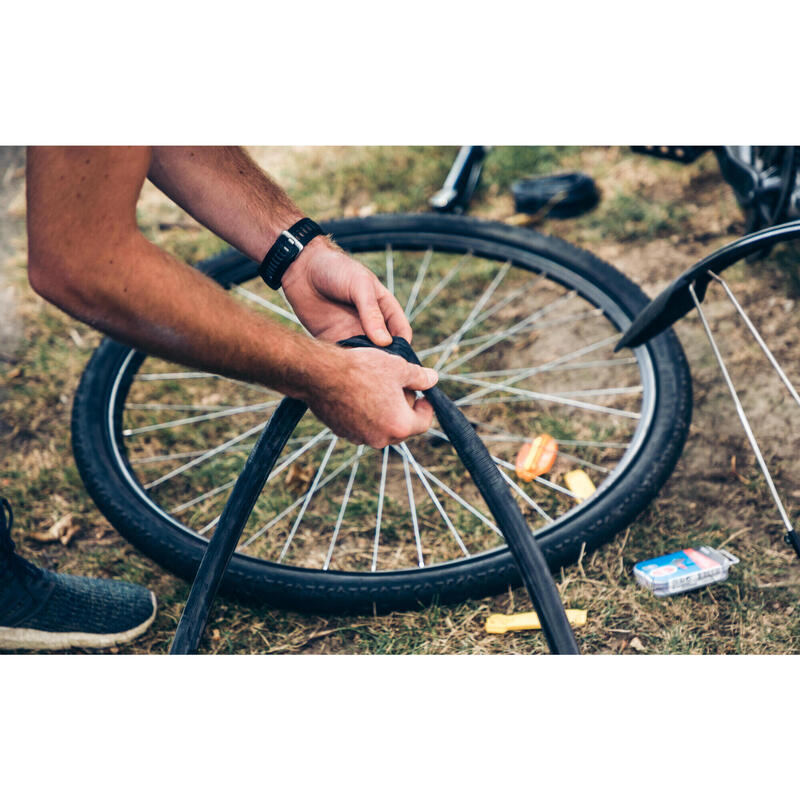
1. Remove your inner tube from the tire and locate the puncture
2. Scrape the puncture area with the sandpaper provided
3. Clean and dry the area
4. Apply the self-adhesive patch and apply strong pressure to the entire area for around 45 seconds
5. Scrape the top of the patch with your fingernail to increase stickiness
6. Replace the tire in the rim and the tube in the tire
7. Inflate your tire to the recommended pressure.
Conservation :
Optimum service life: 3 years at room temperature (16-22°C, 30-70% humidity), protected from direct light, in its packaging.
Minimum temperature for repair: +10°C
Operating temperature: -40°C to +65°C
Applying the patch :
Place the patch on the skin, taking care not to touch the sticky part (which would reduce its stickiness).
Push out any air bubbles from the center of the patch towards the edges.
Rub the patch with your fingernail to warm it up and help it set better.
Finally, press firmly with your thumb, covering the entire patch for 45 seconds to 1 minute (use a clean, flat surface for best results).
Sanding:
A good sanding of the affected area will give you a better result.
The aim is to obtain a flat, clean surface for maximum hold of the patch.
If the puncture is close to a surplus of material, sand until this surplus is eliminated.
Sanding will create micro-scratches which will allow the glue on your patch to set better.
This step is very important for a successful repair.
Cleaning :
Clean away any impurities to ensure a clean, flat and dry patching area.
Good to know: don't use water or any other product to clean your inner tube after sanding, as a clean, dry surface is essential to ensure a solid hold for your patch.
Did you know?
To ensure that your patch remains firmly in place on your repaired inner tube, we strongly recommend that you reinflate your inner tube within 24 hours of applying the patch, and that you inflate it to the recommended pressure.


