USE RESTRICTIONS
Do not use in strong WIND, no more than 20 km/h (10 knots).
Remove the LEASH before installing the board on your rack.
Respect the Highway Code.
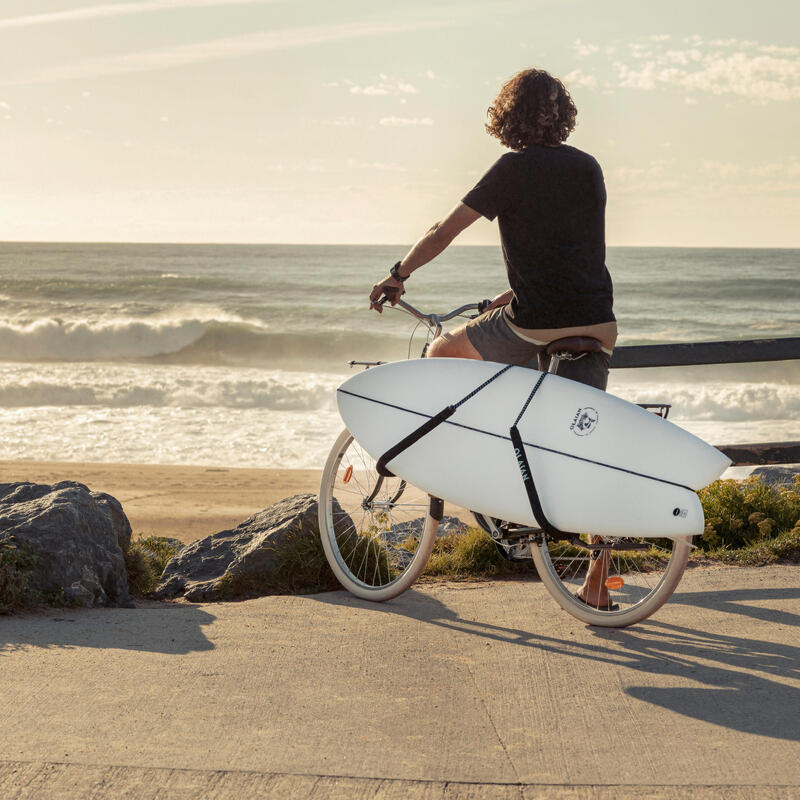
This rack has been designed to carry ONE BOARD.
ADAPTABILITY
Designed to carry ONE board (any type of board) less than 8' in length (equivalent to approx. 2.44 m), less than 4.7'' (13 cm) thick and weighing less than 10 kg.
DIMENSIONS
Rack attached to seatpost: Length: 170mm / Width: 50mm / Height: 65mm.
Rack assembly: Length: 170mm / Width: 460mm / Height: 590mm.
Width of support arms: 130mm.
First, measure the space available at the BACK of the seatpost to accommodate the dimensions of the surf rack support: you must have 17 cm length x 6.5 cm height, available to be able to install this system.
ASSEMBLY INSTRUCTIONS 1/5
We recommend that you carefully watch the assembly tutorial video and/or the instructions on the back of the packaging.
A QR code printed on the front of the packaging and on the underside of the product is available for easy retrieval of the tutorial video.
1) Degrease your seatpost with a cloth and degreaser (e.g. ESSENCE F)
2) Place the bracket at the lowest point of your seatpost, paying attention to the direction.
ASSEMBLY INSTRUCTIONS 2/5
3) Screw in the bracket using the Allen key supplied and the screws/nuts.
We recommend you screw in a cross pattern to help center the bracket. (Start by screwing at the top left, then at the bottom right, then at the top right and finish at the bottom left).
4) Assemble the transport tubes by pressing on the grey metal push pin.
5) Insert the tubes into the bracket and choose an angle to suit your bike.
/!\ check that the tube button is properly engaged.
ASSEMBLY INSTRUCTIONS 3/5
6) Position your board on the transport tubes
/!\ beware of the weight of your board, which could tip your bike over
7) /!\ Mount your bike and check that the handlebars can be turned to their full extent
If this is not the case, you can try another notch. (Ideally, the front of the board should be a little lower than the rear to make it easier for the handlebars to pass through, but be careful to keep a suitable distance between the front of the board and the ground).
ASSEMBLY INSTRUCTIONS 4/5
If you can't find a suitable setting for your bike, you can slightly offset the bracket from the axis of your rear wheel. By shifting it to the right side, the rear of your board will be closer to the rear wheel and the front of the board will be offset, leaving more room to turn the handlebars.
ASSEMBLY INSTRUCTIONS 5/5
8) Once your board is in position, you can attach the rubber bands. There are two hooks: one on the transport tube and the other on the top center of the support. Check that the elastics are taut
9) Before setting off, tighten the screws on the support and your seatpost as much as possible to ensure stability during use.
BEFORE EACH DEPARTURE
Before setting off, make sure that:
- the seat post and support are as tight as possible
- once the board is attached, the GUIDON can rotate freely to its full extent.
Prepare your route carefully to ensure a good quality road (without holes, stones or other obstacles), with plenty of space and as little traffic as possible.
USE
3 tube spacings available, for maximum adaptability to your board's style, ultra-easily adjustable, again thanks to this "clip" system (3 positions).
MOUSSE-covered tubes on contact areas, to protect your board's rails.
Doubled elastics for good binding and board support.
Respect the Highway Code.
Be careful not to lean your bike too much when cornering, as your board could hit the ground and be damaged.
MAINTENANCE
Lubricate the seatpost mounting bolts once a year with a "universal grease" style lubricant.
WEIGHT
Product weight (excluding packaging) = 2.6 kg.
DESIGN and USAGE TESTING
Designed and tested by our team of surfers in Hendaye (France). The Olaian global design center is located on the banks of the Bidassoa in Hendaye. This enables us to design products in close contact with users and the marine environment.
